
TM 5-6675-318-14
(c) Securely crimp the cable terminal and cut off the excess.
(d) Remove all tape from motor and pulleys.
(e) Remove nuts from pen holder assembly.
(f) Reinstall trailing cable termination bracket over threaded
Reinstall nuts and tighten.
studs.
(g) Position pen solenoid wires so that they will not rub on
pulleys.
(h) Reinstall trailing cable tray cover. Check ends for flush
fit.
CAUTION
D o not touch dashpot piston with bare hands. Skin oils will damage surface
of piston.
( i ) R e i n s t a l l d a s h p o t a s s e m b l y . H o o k end of piston into notch and
position spring over pin. If piston becomes separated from
dashpot, do not touch with bare hands.
(j) Position upper pen holder and install screw.
(k) Reinstall pen holder cover and install screw.
(l)
Position
plotter
arm
at
the
left
(pen
stall)
end
of
plotter.
(m) Position pen carriage assembly at top right corner of platen.
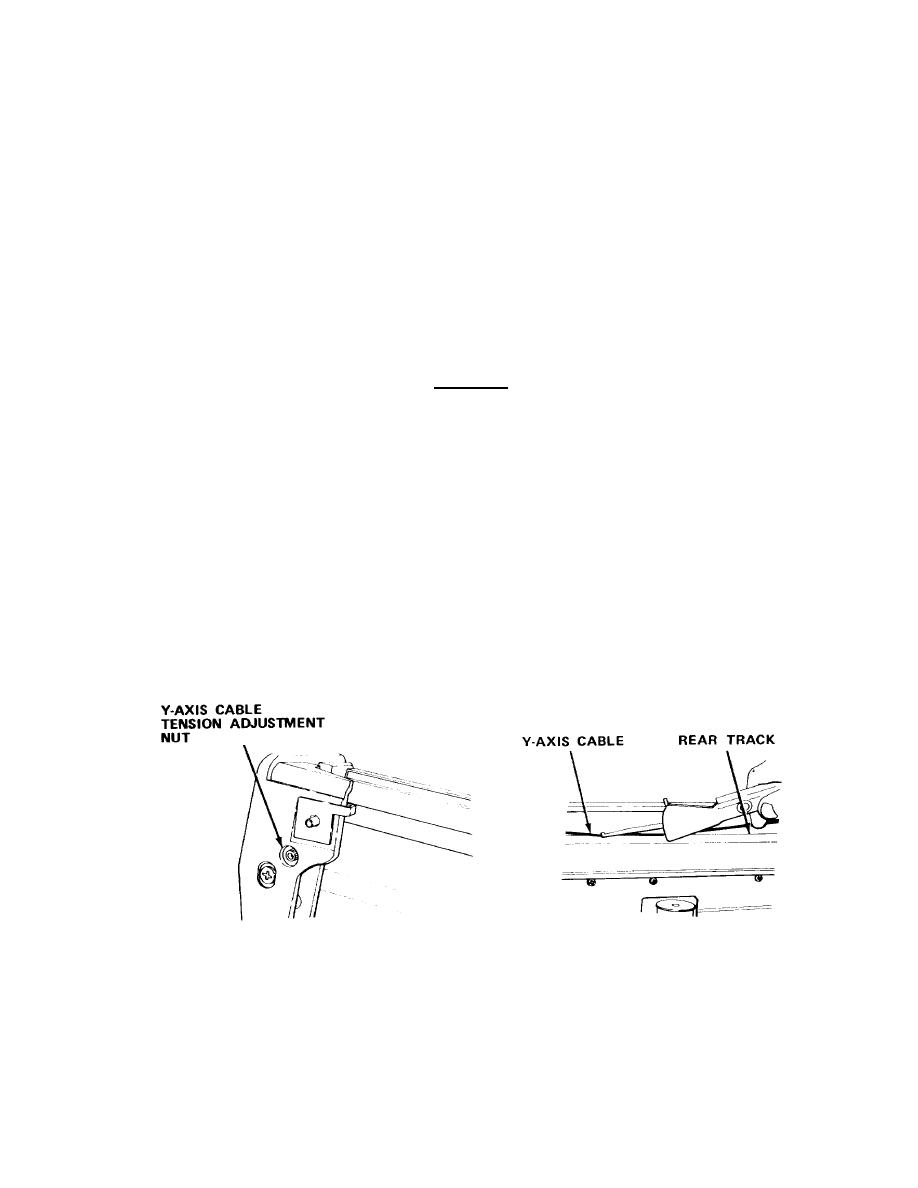
(n) Pull on loose cable at loop crimp terminal until all slack is
L o c a t e midpoint between two pulleys on Y-
gone from cable.
axis cable.
3-305
