TM 5-6675-320-14
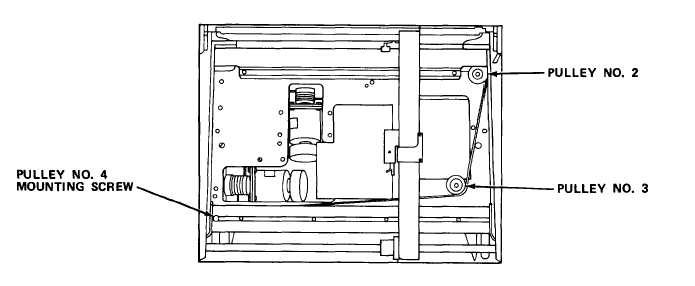
(3) Thread cleated cable end down through space normally occupied by
pulley 4 and anchor cleated end in bracket.
CAUTION
P u l l e y w i l l n o t r o t a t e i f w a s h e r i s n o t i n p l a c e.
(4)
( 5)
( 6)
(7)
( 8)
Reinstall pulley 4 making sure that washer is reinstalled under
pulley, and thread cable around pulley.
Bypass pulley 3 and thread cable around pulley 2 to pulley 1.
Thread cable end adjustment block up into bracket above pulley 1
a n d i n s t a l l a d j u s t n u t f i n g e r t i g h t o n l y.
Check that cable is around pulleys 1 and 2.
by threading cable around pulley 3.
Adjust tension nut until 5/16 in. (8 mm) of
Then complete stringing
thread is exposed above
n u t.
h . P o s i t i o n p e n c a r r i a g e a r m a t p e n s t a b l e e n d o f p l o t t e r . A d j u s t c a b le
tension for 325 ± 25 g.
Refer to cable tension-adjustment procedure
(paragraph 4 - 29 . 3).
i .
Manually exercise pen carriage arm several times along X-axis and
recheck cable tension.
Readjust if necessary. Repeat manual exer-
cising and checking after each adjustment until tension is set to
325 ± 25 g.
j .
Lower upper deck assembly and reinstall rear hood.
4-298


